Stop Losing Sales: Master 3D Print Product Photography for Etsy
Turn casual browsers into paying customers with irresistible product photos.
Why Your 3D Print Photos Are Costing You Sales
Let’s face it: in the crowded Etsy marketplace, your product photos are your first (and often only) chance to grab a potential buyer’s attention. Fuzzy, poorly lit, or uninspired photos scream ‘amateur’ and send customers clicking away. Think of your photos as your silent salesperson, working 24/7 to showcase the quality and uniqueness of your 3D printed creations. If they’re not up to par, you’re essentially throwing money away. Customers can’t physically touch or examine your products online, so your photos need to bridge that gap and instill confidence. They need to see the details, appreciate the texture, and understand the scale. Simply put, bad photos equal lost sales, while great photos equal a thriving Etsy shop.
Many Etsy sellers, especially those new to 3D printing, underestimate the importance of good photography. They might use their phone’s camera in poor lighting, resulting in images that don’t accurately represent their products. This can lead to customer dissatisfaction and negative reviews, further hurting your sales. Investing time and effort into learning basic photography principles can dramatically improve your Etsy shop’s performance and boost your bottom line.
Essential Equipment (You Probably Already Have Some!)
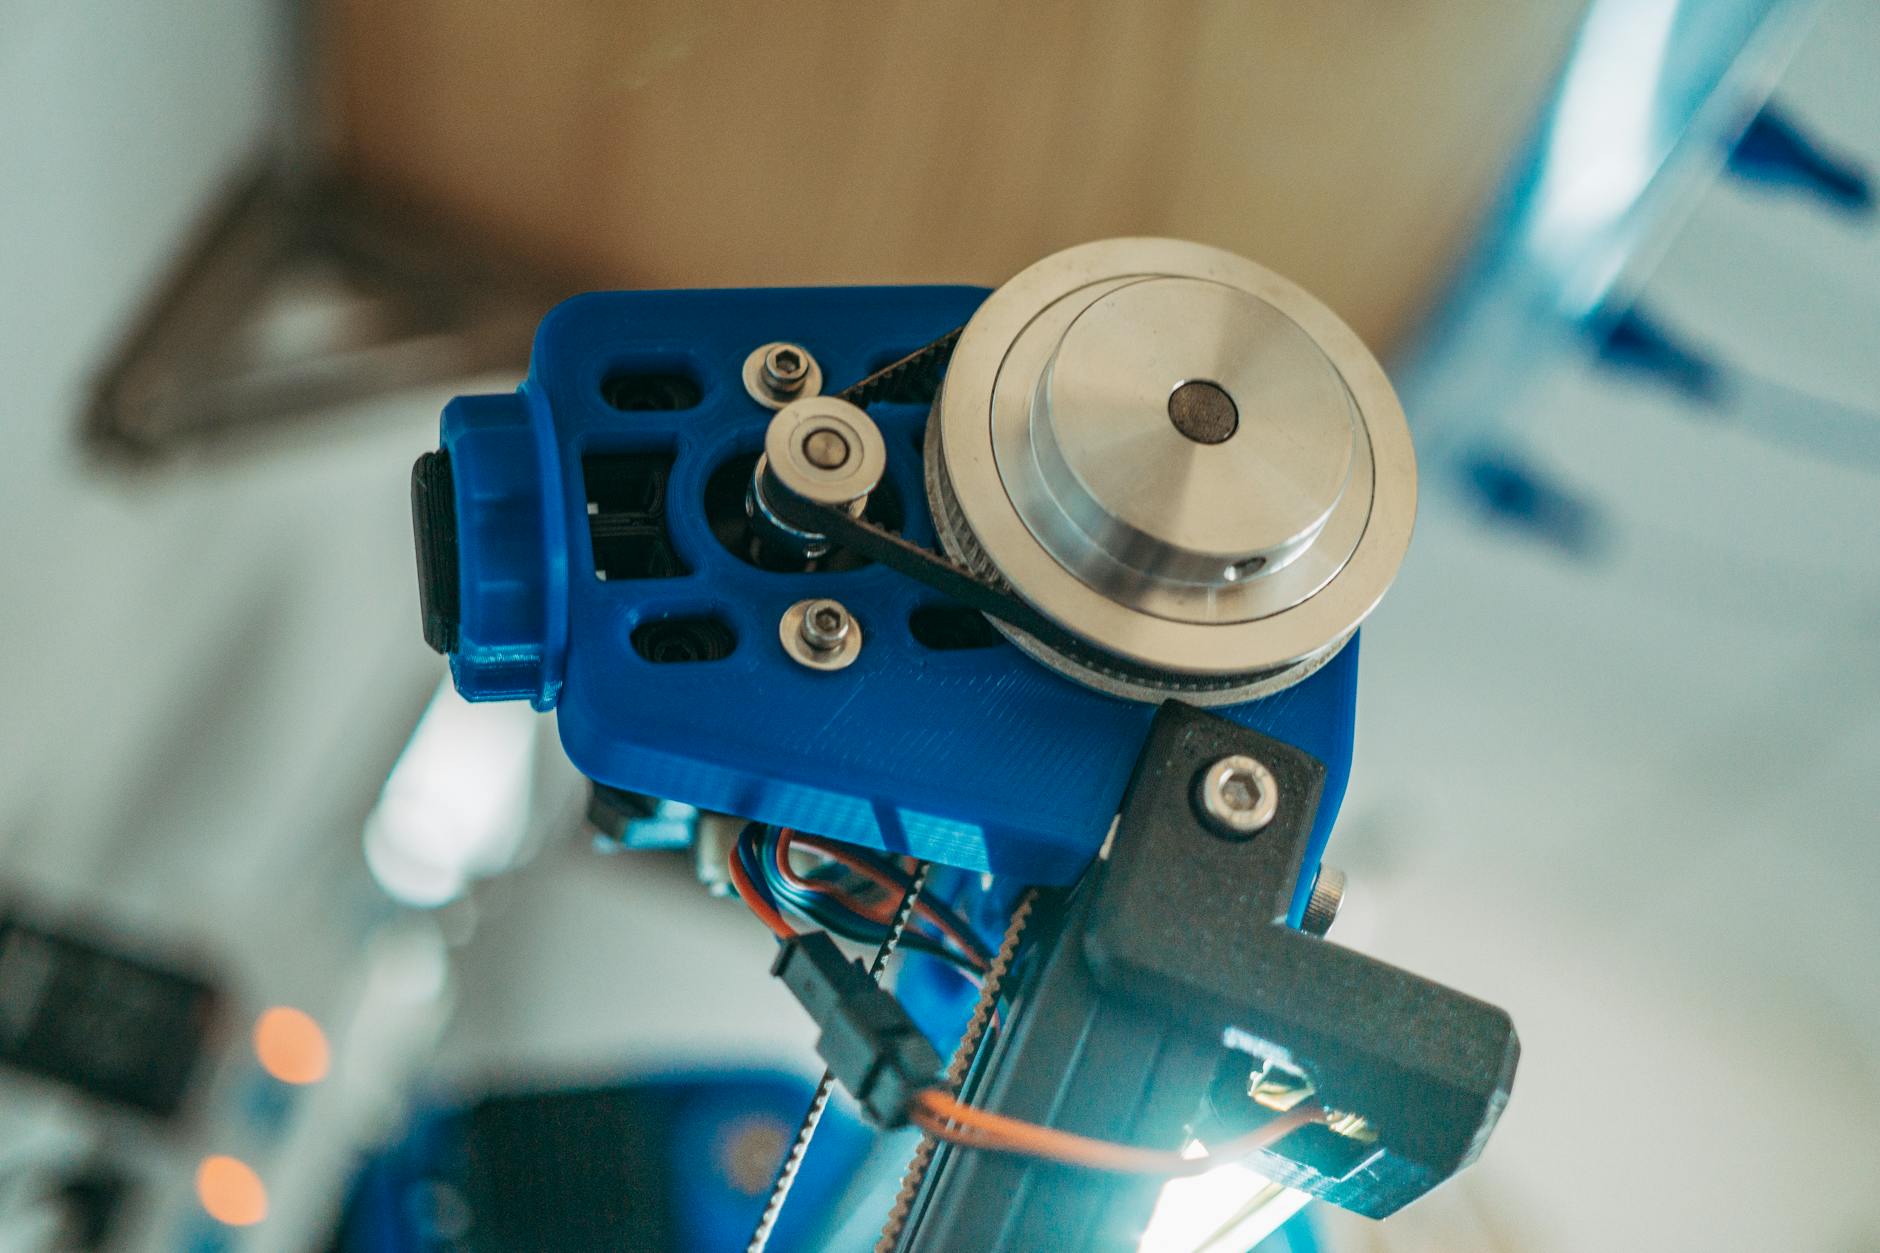
You don’t need a fancy studio or expensive equipment to take stunning product photos. In fact, you can achieve professional-looking results with items you likely already own. Here’s a basic checklist:
- Smartphone or Camera: Most modern smartphones have excellent cameras that are more than capable of capturing high-quality images. If you have a DSLR or mirrorless camera, even better!
- Tripod: A tripod is crucial for sharp, blur-free images, especially in low-light conditions. Even a cheap, basic tripod is better than no tripod at all.
- White Background: A simple white background is essential for showcasing your products without distractions. You can use a large sheet of white paper, a white foam board, or even a white wall.
- Lighting: Natural light is ideal, but not always available. If you’re using artificial light, opt for soft, diffused light sources. Avoid harsh, direct light, which can create unwanted shadows.
- Reflector (Optional): A reflector can bounce light back onto your product, filling in shadows and creating a more balanced image. You can use a piece of white cardboard or a professional reflector.
Don’t be intimidated by the equipment list. Start with what you have and gradually upgrade as needed. The most important thing is to understand how to use your equipment effectively.
Mastering Lighting for 3D Printed Objects
Lighting is arguably the most critical element of product photography. Good lighting can enhance the texture, color, and details of your 3D printed objects, while bad lighting can make them look dull and unappealing. The key is to avoid harsh, direct light, which can create strong shadows and blown-out highlights. Instead, aim for soft, diffused light that evenly illuminates your product.
Natural light is often the best option. Try shooting near a window on a cloudy day. The clouds will act as a natural diffuser, softening the light and creating a more pleasing effect. If you’re using artificial light, consider investing in a softbox or diffuser to soften the light from your lamp or flash. Position your light source at an angle to your product to avoid creating flat, boring images. Experiment with different lighting angles to find the most flattering look for your specific object. Pay attention to shadows and highlights, and adjust your lighting accordingly.
Avoid using your camera’s built-in flash, as it typically produces harsh, unflattering light. If you must use a flash, try bouncing it off a wall or ceiling to soften the light.
Staging and Composition: Telling a Story
Your product photos shouldn’t just show your product; they should tell a story. Think about how your product will be used and create a scene that reflects that. For example, if you’re selling a 3D printed phone stand, you could stage it on a desk with a phone and other office supplies. If you’re selling a 3D printed planter, you could stage it with a plant and some soil.
Pay attention to composition. Use the rule of thirds to create visually appealing images. Place your product off-center, with the main subject positioned at one of the intersections of the grid. Experiment with different angles and perspectives. Try shooting from above, from the side, or from a low angle. Get close to your product to capture the details, and step back to show the overall context.
Keep your background clean and uncluttered. Avoid distracting elements that will take away from your product. Use props sparingly, and make sure they complement your product rather than competing with it. Consider using props that add a sense of scale or context, such as a ruler or a coin.
Editing Your Photos: The Final Polish
Even with perfect lighting and staging, your photos may still need some editing. Editing can help you correct minor imperfections, enhance colors, and create a more polished look. You don’t need to be a Photoshop expert to edit your photos effectively. There are many user-friendly photo editing apps available for smartphones and computers.
Start by adjusting the brightness and contrast. Make sure your photos are well-lit and have good contrast. Adjust the white balance to correct any color casts. Crop your photos to remove any unnecessary elements and improve the composition. Sharpen your photos to enhance the details. Be careful not to over-sharpen, as this can create unwanted artifacts.
Remove any blemishes or distractions from your photos. Use the clone stamp or healing brush tool to remove dust, scratches, or other imperfections. Pay attention to the overall look and feel of your photos. Make sure they are consistent with your brand and style. Don’t over-edit your photos. The goal is to enhance your product, not to create a false impression.
A/B Test Your Photos to Maximize Conversions
Once you’ve created a set of stunning product photos, don’t just set it and forget it. Continuously test different variations to see what resonates best with your audience. This is where A/B testing comes in. Etsy allows you to easily swap out your product photos, so take advantage of this feature to experiment with different angles, staging, and lighting setups.
For example, try testing a photo with a close-up detail shot versus a photo showing the product in its entirety. Or, compare a photo with a minimalist background to one with a more elaborate scene. Monitor your sales and conversion rates to see which photos perform better. Use this data to refine your photography strategy and optimize your product listings for maximum impact. A/B testing is an ongoing process, so keep experimenting and iterating to continuously improve your results.
Key Takeaways
- 3D print product photography
- Etsy product photos
- Etsy SEO
- Product photography tips
- 3D printing business